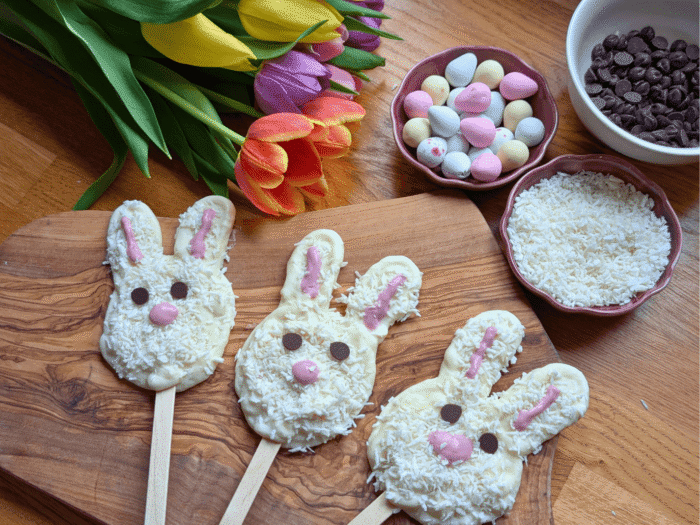
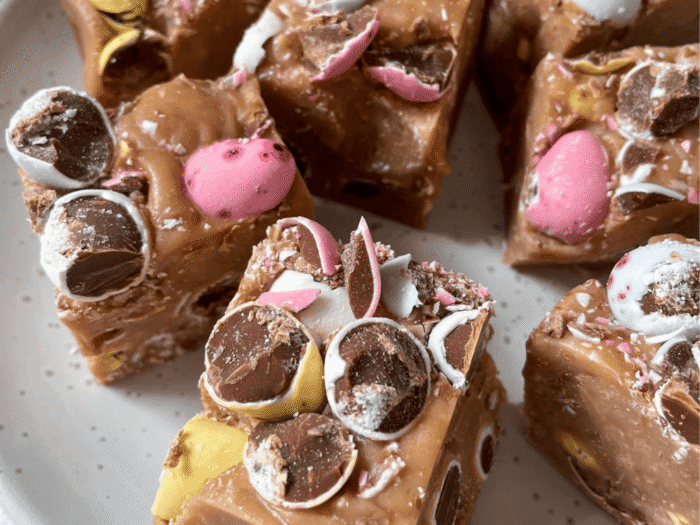
Fondant-Filled ‘Crème Eggs’
Share the love
- Serves: Makes 6 mini half eggs
- Preparation: 60
- Passive: 60
- Ready: 120

If you fancy doing some Easter baking, give these gooey, fondant-filled eggs a try!
Ingredients
- 250 g dairy-free chocolate
- 2 tablespoons caster sugar
- 2 tablespoons water
- 200 g white fondant icing, grated
- a few drops of yellow food colouring
- ¼ teaspoon vanilla extract
Method
Melt and temper the chocolate (see additional notes). Coat your egg moulds with a layer of melted chocolate; this is easiest to do by placing the chocolate into a piping bag, completely filling the moulds, and then turning then over and letting the excess drip out onto a sheet of baking paper. This gives you a thin, even coating.
Leave to set. You should have some chocolate left over which will be used to finish the eggs.
Meanwhile, make a sugar syrup by melting the sugar into the water.
Split the grated fondant into two bowls, 175 g in one and 25 g in the other. Colour the 25 g with yellow food colouring. Add a dribble of sugar syrup to make the correct gooey texture.
Add the vanilla and remaining sugar syrup to the white icing and mix to the correct texture (it should be thick but gooey).
With a piping bag, nearly fill each half egg with the white fondant, then top with a dollop of yellow fondant to form the yolk, making sure you leave 2 mm at the top for the chocolate.
Re-temper the leftover chocolate and use it to top the filled eggs, covering the fondant, then leave to set. The chocolates will release from the mould after 30 minutes or so in the fridge.
If you would like whole egg shapes, attach two halves together with a tiny blob of melted chocolate and leave to set.
Additional notes
Recipe courtesy of Meze Publishing
Taken from The Friendly Baker by Lucy Parr, published by Meze Publishing, £23
Photography © 2022 Paul Gregory
Food styling – Lucy Parr and Paul Gregory
“Top Tip: You can use the fondant filling to make oozy fruity or minty crèmes by adding an essence or extract of your choice.”
How to temper chocolate
None of the recipes in The Friendly Baker book require you to temper chocolate and they will all work without using this process. However, you will find that the chocolate is not as shiny or snappy as it could be and will almost feel like it melts on contact with your hands (this is due to the molecular structure of chocolate). You will also need to store the finished products in the fridge. So, if you can find the time to temper the chocolate you will notice the difference and get a better finished product. It will be shiny, snappy and have a greater shelf-life. All chocolate has already been tempered when you buy it and can be re-tempered indefinitely. I would recommend the seeding method for which you will need an accurate digital probe thermometer and a bain-marie. Finely chop the amount of chocolate you need for the recipe and place two thirds in the bowl of the bain-marie. Gently melt until you reach 45°C and the chocolate is fully liquified. Take off the heat and start to add small amounts of the remaining chopped chocolate, stirring well until each addition has fully melted and the temperature comes down to 27°C. Place the bowl back over the hot water of the bain-marie and increase the heat to 32°C. Do not let it get too hot, or you will have to start the process from scratch. Your chocolate is now fully tempered and will set with a shiny, snappy finish.